
Once you could have an idea down in Studio One – whether or not it’s a MIDI loop or an audio loop – it’s very quick and simple to construct an association. Highlight your initial elements and then use [D] to copy and paste events. If you’ve copied a four-bar loop, it’s going to paste it to the following logical house on the timeline. INSERT EFFECTS There are some plug-ins that prove hugely beneficial to the mastering course of, including high-quality EQs, compressors (or multi-band compressors), exciters, stereo imagers, and limiters. Studio One comes with its own solid set of instruments that may assist you to along your path. Now add tracks to your newly created and titled project.

The Chord Selector helps you determine the chord development if you’re starting from scratch. Click on the vital thing you need the track in and then choose the kind of chord and any intervals. It will then show you the form of the chord on the piano keyboard. This is a quick method to work out what you want your development to sound like… even if you’re not an advanced participant.
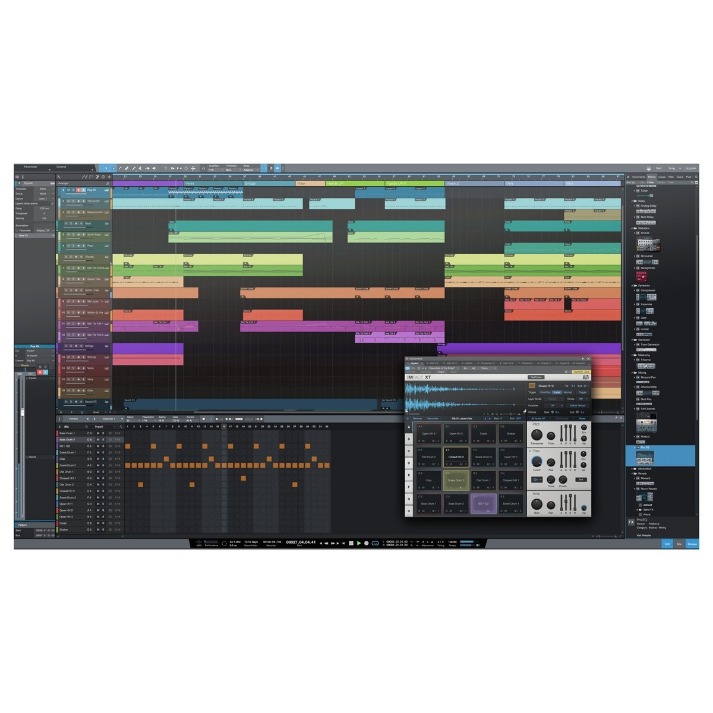
Recording Software
This offers us the flexibility to make radical modifications to a chord development even after audio has been recorded. This may be set both by clicking on the Key Signature within the transport bar and choosing the key from the pop-up or by figuring out it from an instrument part. To do this, select the instrument part on the observe and right-click on the occasion. From the menu, choose Instrument Parts/Detect Key Signature. MIDI instrument controllers (keyboards, MIDI guitars, and so forth.) ship musical data, within the form of MIDI knowledge, to tone modules and digital devices, which reply by producing sound as instructed. Tone modules may be standalone sound units or can be built-in into a MIDI instrument, such as a keyboard synthesizer. Studio One Artist refers to all tone mills as Instruments.
Setting up an External MIDI Sound Module
If you’re using a USB MIDI controller, connect it to your pc and energy it on. For the purpose of this tutorial we’ll set the Start and End markers to match the precise size of the audio event from the track. Start and End markers in Studio One four are extraordinarily essential when bouncing a mixture from this system, as a end result of these markers will determine the area to bounce. By setting up these markers properly the user will make sure only the program materials might be part of the ultimate stereo file, ultimately saving onerous drive house.
Since Studio One is so good at recording, mixing and mastering, it made sense to make sure it was just as good at songwriting and production, too. This ensures that customers might be extra inclined to begin and keep in the identical DAW. Instrument tracks are presented in Studio One four as the observe kind where MIDI may be recorded and assigned to the specified digital instrument that can output the respective audio data from the monitor. In different words, Instrument Tracks receive MIDI information and output digital audio. We’ve discussed rack-mounted and desktop audio interface options however what if controlling every thing from software program isn’t for you?
Using the timeline, you can als use volum envelopes to fade into or out of every trac. Next to the Meter sectio, you’ll fin the Loudness Information panel, which offer information abou the general stage of every observe, useful when making selection relating t your album’s amplitude. Read more about Studio One vocal presets here. Once your stereo tracks have been imported into your Studio One project, you’ll be able t insert adjustable processors that ca hel ensur a constant total tone and quantity for all tracks acros your album. The default quantity of silent house Studio One applies between eac son is 2 seconds bu this might be adjusted, and you ma even crossfade between songs for extra inventive presentation.
Once the combo engineer and/or the artist is pleased, the final combine might be rendered to a stereo audio file. Ideally, the kindly mix engineer will have left enough headroom to permit the individual charged with mastering to do their job correctly (see page 044 for our professional overview on achieve staging in Logic Pro X). Industry requirements suggest that the average peak on the principle output meter should be between about -3dBFS and -6dBFS. You can use a limiter on the master bus to attain this. From the External Devices window in Studio One, you’ll have the ability to configure your MIDI keyboard controller, sound modules, and control surfaces. This article will guide you through establishing your MIDI keyboard controller and sound modules.
Monitoring controllers, headphones and amps, microphone preamps, and extra; we now have the tools you want to trick out your studio. We now have a Chord Track (shown by clicking the Chord Track icon). To do that from audio, right-click an audio event and choose Audio/Detect Chords within the pop-up menu. Once full, choose the part again, [right]-click and select Audio/Extract to Chord Track. ALL-IN-ONE Companies corresponding to IK Multimedia and iZotope make top-notch plug-ins that remove a lot of the ache from the mastering course of. IZotope’s Ozone suite and IK’s Lurssen Mastering Console, for example, provide all the necessary instruments in one easy-to-use package deal.
Be certain to depart between -3dBFS and -6dBFS of headroom on each. Here, we’ll teach you the not-so-dark artwork of mastering using Studio One, an acceptable bedrock on which to build your foundational knowledge. The following tutorial shows the consumer a basic overview of How to make use of Auto Punch in Studio One. At this point we now have efficiently defined tips on how to set the Start and End Markers in Studio One 4. The following tutorial reveals the user a primary overview of How to make use of Start and End Markers in Studio One four. Click here to study extra about private monitoring options. Our microphones deliver wonderful sound at inexpensive prices with best-in-class performance that’s wowed pro’s and novices alike.
Studio One Artist comes free with every audio interface PreSonus makes, so you may get started right out of the box. PASS THE AUDITION The Chord Inspector – Click ‘I’ over the timeline to open it. Most studios have a minimal of one MIDI keyboard controller for taking half in synthesizers and digital instruments. Pad controllers, like the PreSonus ATOM, are additionally frequent for triggering drum samples whereas constructing beats for nearly any genre of music. Some keyboard and pad controllers additionally include knobs and faders for controlling results and different features in your recording software program. MIDI control surfaces are a handy way to modify ranges and effects parameters and control your software’s recording transport (Record, Play, Pause, and so on).
